
Outdoor Living
Building Luna a dog kennel for Northland weather
When Luna arrived, one thing became obvious quickly: a growing golden retriever needs more than a small dog kennel with a doorway cut into it.
Golden retrievers are long-bodied dogs, and Luna will likely lie facing the entrance with her body stretching towards the back. That shaped the design. Rather than building a wide, shallow kennel, I made it 1.2 metres across the front and 1.5 metres deep.
The result is a solid, weather-resistant kennel designed for a full-sized dog, Northland conditions, and easy day-to-day cleaning.
Most of the structural materials came from Bunnings in Whangārei. The timber measurements worked out well, the plywood cutting plan kept waste under control, and the only major material still to purchase is the macrocarpa weatherboarding.
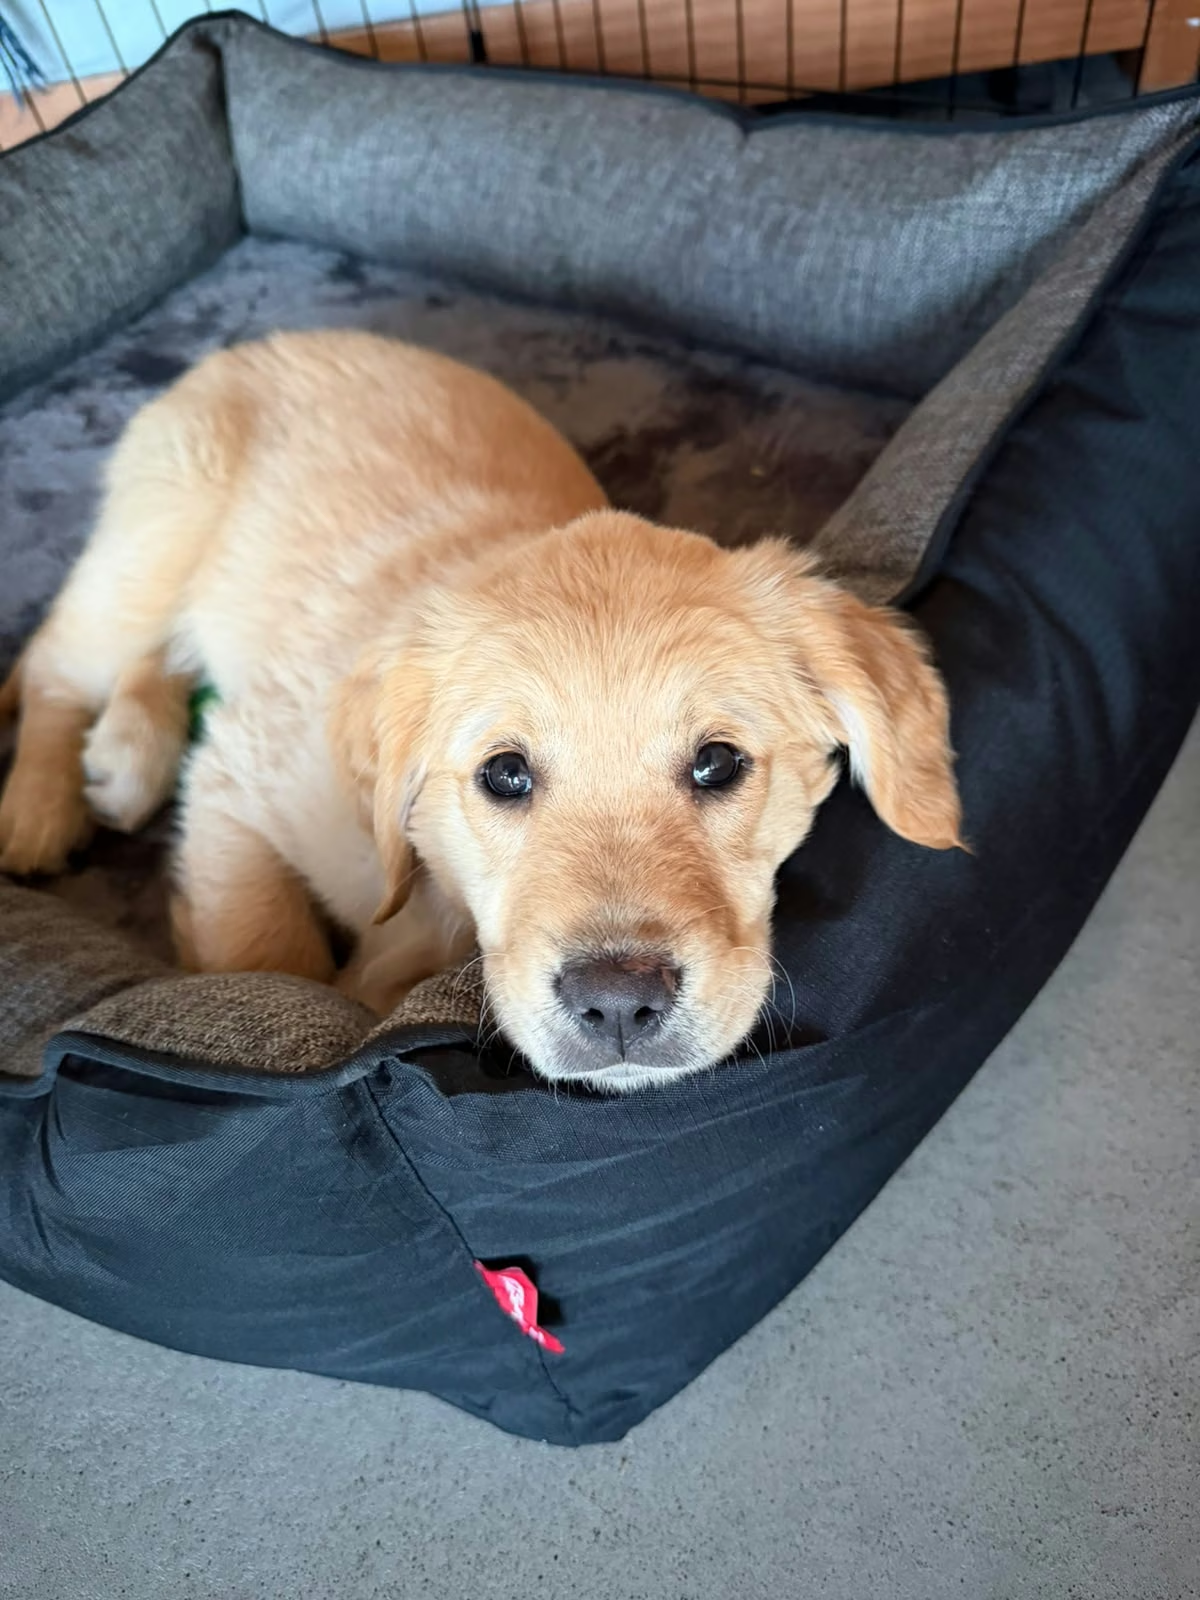
Luna is small now, but the kennel is sized for the full-grown golden retriever she will become.
The design
The kennel was built around Luna's adult size and the way she is likely to use the space.
| Component | Measurement |
|---|---|
| Width across the front | 1,200 mm |
| Depth from front to back | 1,500 mm |
| Front wall height | 1,100 mm |
| Rear wall height | 889 mm |
| Door opening | 450 mm wide × 650 mm high |
| Roof pitch | Approximately 8 degrees |
I kept the front at 1,100 mm and lowered the rear to create the roof fall. That avoided making the kennel unnecessarily tall while still giving the COLORSTEEL roof enough pitch to shed water.
Building the base and frame
I used 100 × 75 mm H4 treated timber for the base and bearers because these parts sit closest to the ground.
The floor, walls, and roof were framed with 75 × 50 mm H3.2 treated radiata timber. It is heavier than conventional lightweight framing, but it produced a very rigid structure that should stand up well to exposed weather.
The floor was covered with 17 mm H3.2 structural plywood and sealed before the walls went up. Sealing the cut edges was just as important as sealing the faces because the edges are most vulnerable to moisture.
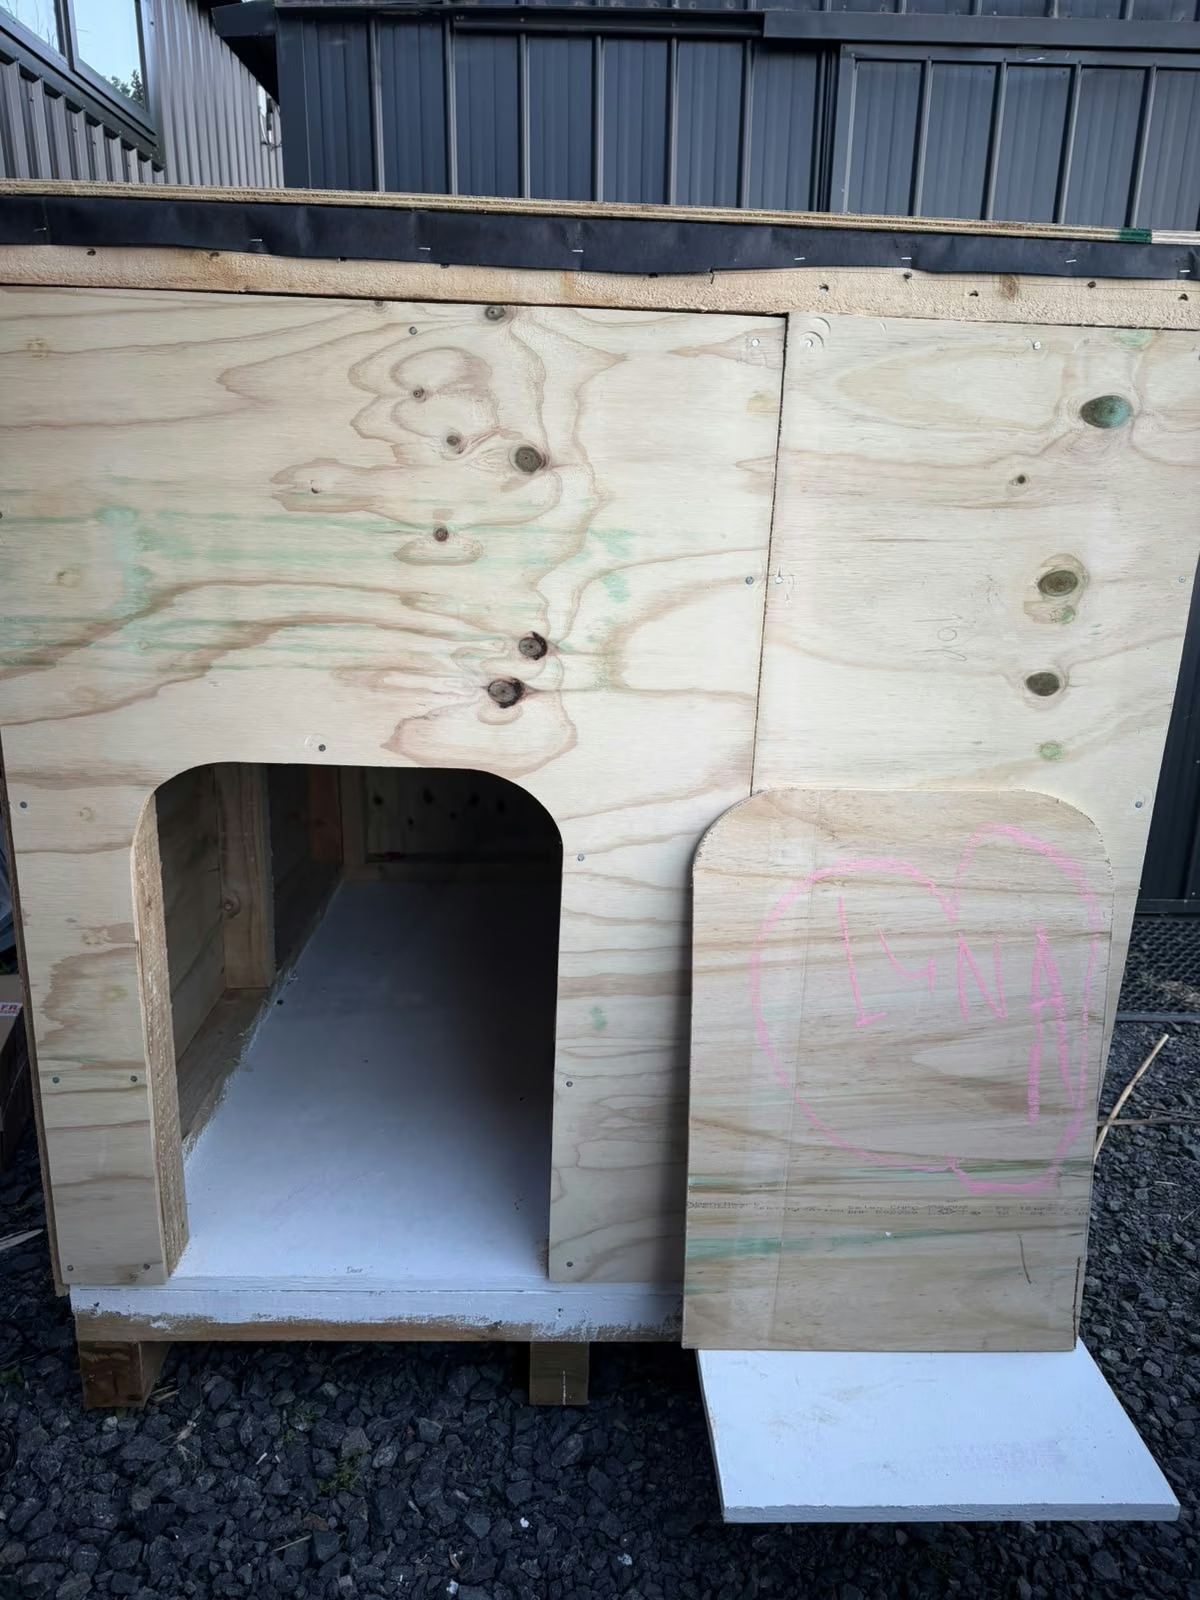
The doorway was cut at 450 mm wide by 650 mm high, with rounded upper corners. That looks better than a square opening and removes sharp corners at Luna's head and shoulder height.
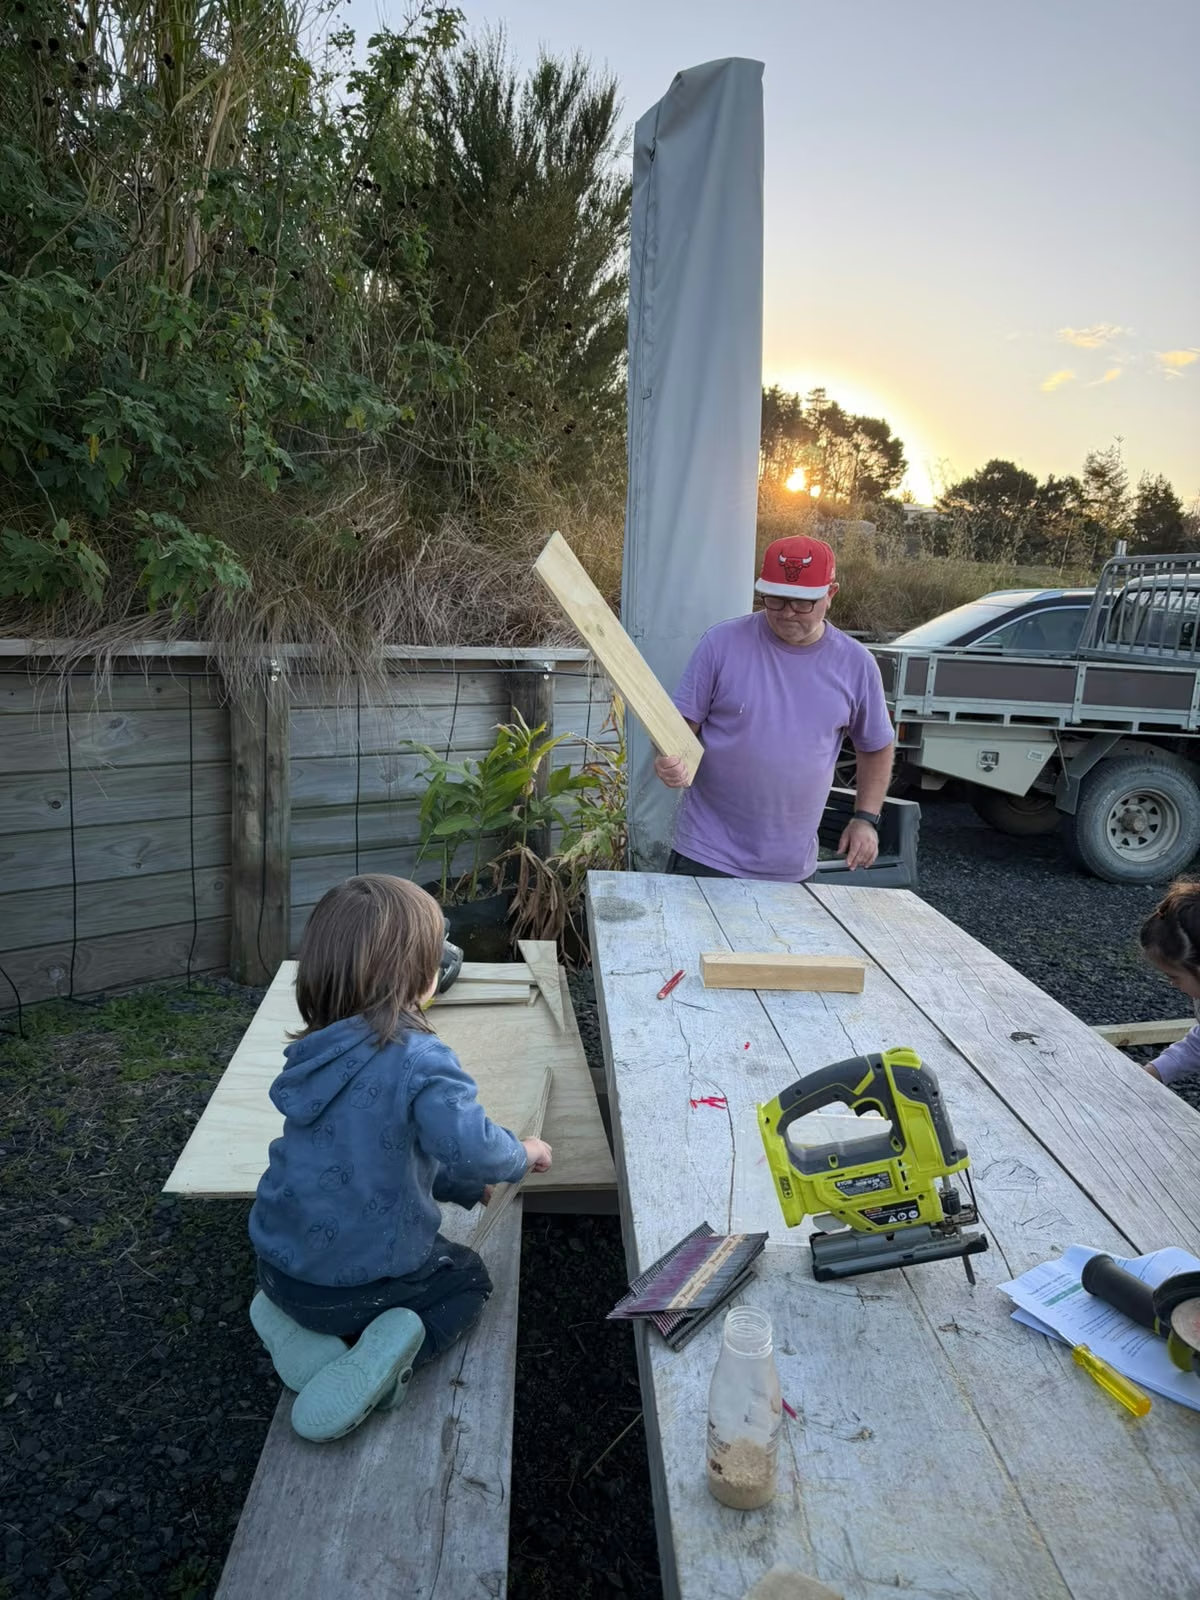
The cutting plan was on the table from the start. That saved timber, plywood, and repeat trips into town.
Framing the roof
The roof needed enough fall to suit the roofing profile, so the side-wall stud tops were cut at 8 degrees.
I built the roof frame separately, which made it easier to square and lift into place. The frame used four cross beams, evenly spaced across the roof.
I also extended the roof by about 50 mm on each side to create an overhang. That small detail should make a useful difference by pushing runoff away from the walls rather than allowing water to drip straight down the cladding.
The roof was lined with treated plywood, covered with roofing underlay, and finished with COLORSTEEL left over from another project.
Minimising plywood waste
Plywood was the most expensive part of the structural shell, so the cutting plan mattered.
The kennel used:
| Use | Material | Quantity |
|---|---|---|
| Floor | 17 mm H3.2 structural plywood | 1 sheet |
| Walls and roof | 12 mm H3.2 structural plywood | 3 sheets |
| Total | 4 sheets |
Some walls were made from more than one piece, but every joint landed directly over framing. That kept the structure strong and avoided buying a fifth sheet.
The remaining offcuts were useful for:
- the feeder enclosure
- doorway lining
- reinforcing pieces
- trim and future repairs
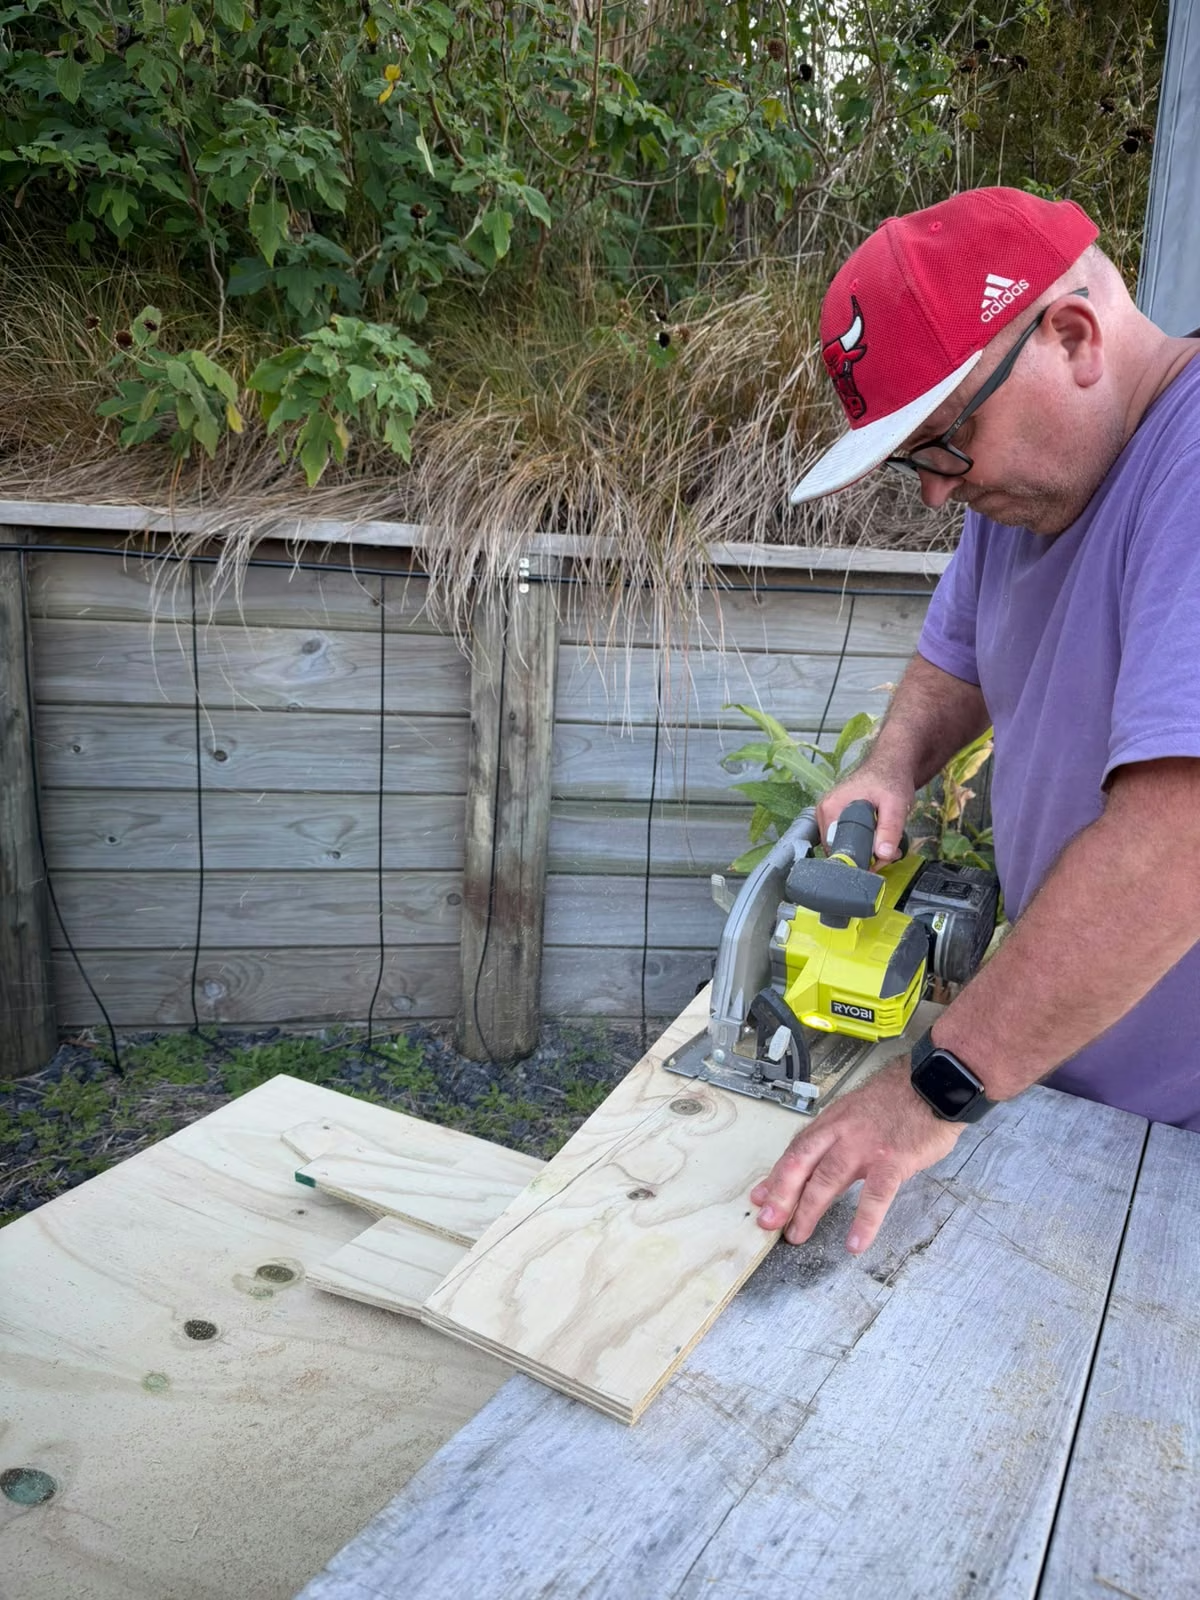
Four sheets covered the structural shell, with useful offcuts left for the feeder and trim.
Adding an enclosed automatic feeder
I wanted Luna's food bowl accessible from outside the kennel so it would be easy to remove, wash, and refill.
The feeder body sits inside a small external enclosure beside the door, while only the single eating dish remains exposed. The enclosure has enough clearance for ventilation, cable routing, and access to the hopper.
Using offcuts for the enclosure meant it did not require another full sheet of plywood.
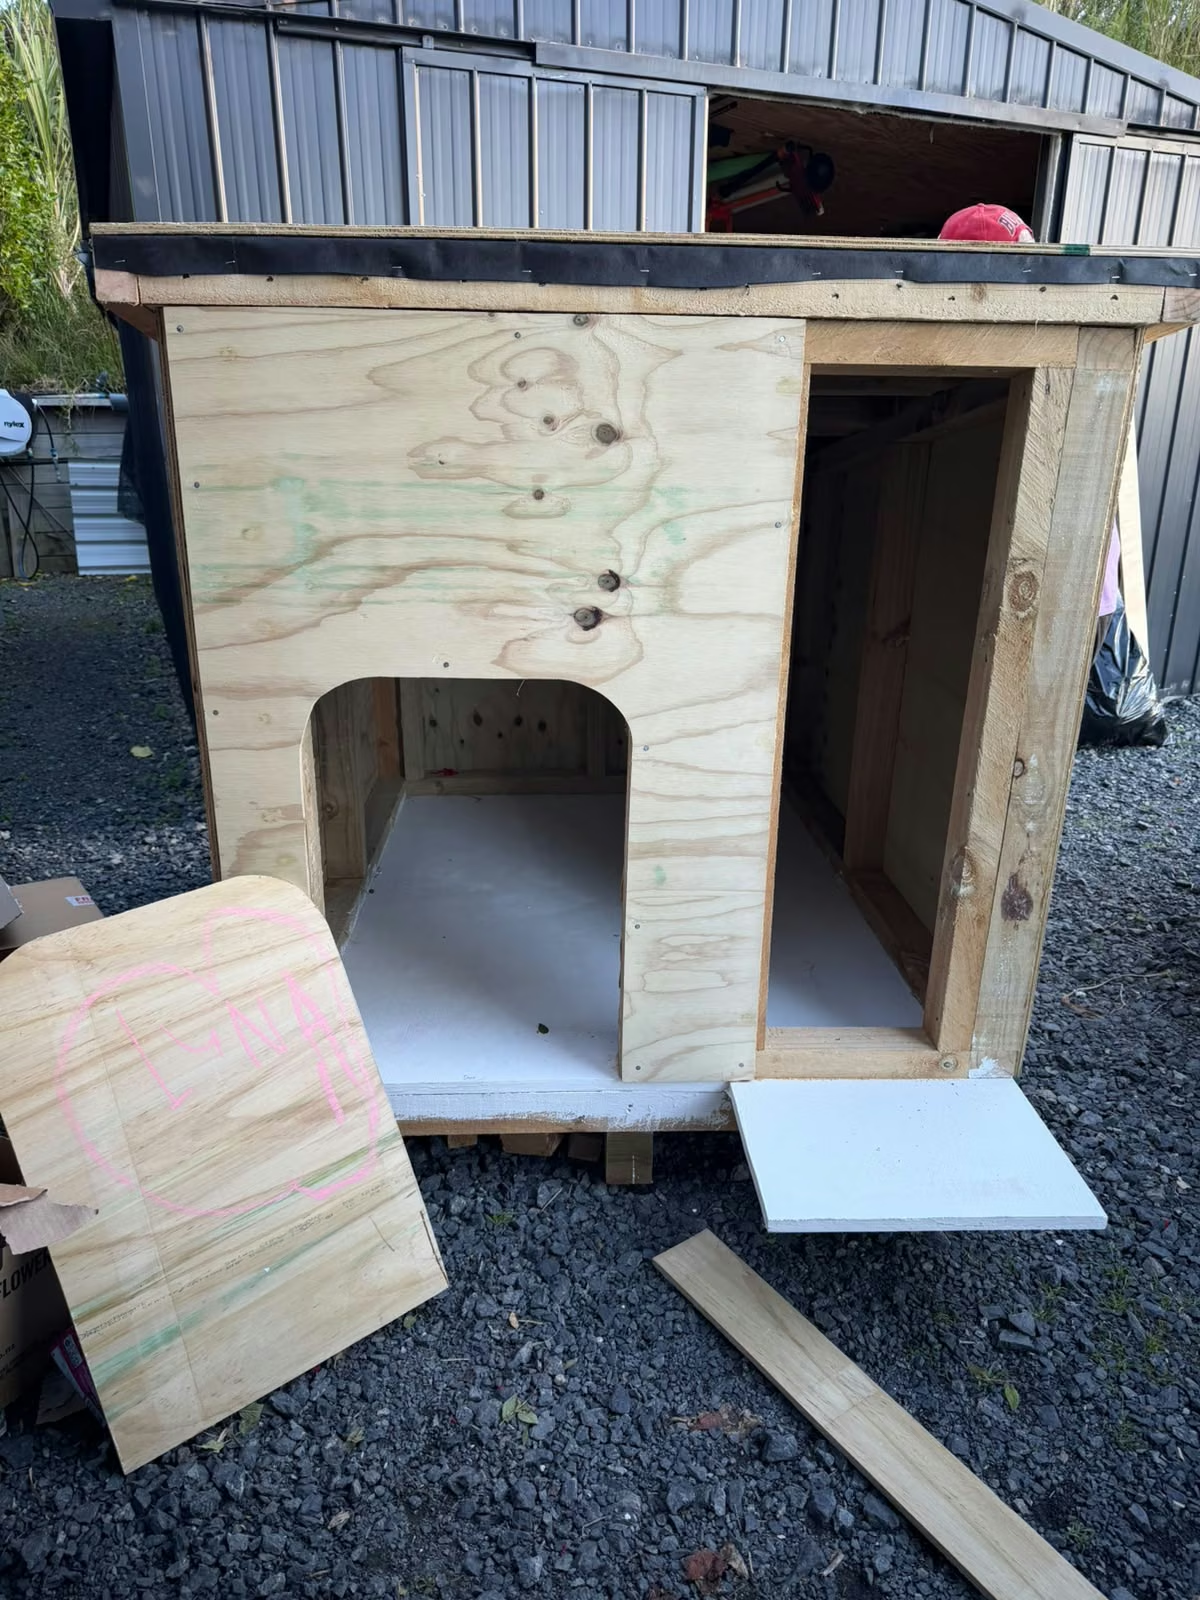
The feeder compartment sits beside the main doorway, keeping the hopper protected while the bowl remains accessible.
Preparing for macrocarpa weatherboards
The plywood provides the structural shell, but it is not the final exterior finish.
The outside will be clad in macrocarpa weatherboards so the kennel matches the other buildings on the property.
The planned wall build-up is:
- timber framing
- treated plywood
- flexible building wrap
- vertical cavity battens
- macrocarpa weatherboards
The building wrap was already on hand.
The cavity behind the weatherboards is important because it allows any moisture that gets behind the cladding to drain and dry rather than becoming trapped against the plywood.
What the build cost
The structural materials for Luna's kennel came from Bunnings Whangārei and cost $606.64 including GST.
| Structural material | Quantity | Cost |
|---|---|---|
| 2,400 × 1,200 × 17 mm H3.2 structural plywood | 1 sheet | $123.76 |
| 2,400 × 1,200 × 12 mm H3.2 structural plywood | 3 sheets | $244.09 |
| 75 × 50 × 6,000 mm H3.2 framing rails | 8 lengths | $181.24 |
| 100 × 75 × 1,800 mm H4 base and bearer posts | 4 lengths | $57.55 |
| Structural shell total | $606.64 |
These were PowerPass prices, so public retail pricing may differ.
I already had:
- the building wrap
- the COLORSTEEL roofing
- tools
- general fastenings
The remaining major purchase is the macrocarpa weatherboarding.
The plywood alone cost $367.85, which was just over 60% of the structural-material spend. That made the waste-minimised cutting plan worthwhile.
What worked well
The biggest success was planning the timber and plywood before going to Bunnings.
Eight 6 metre framing rails covered the floor, walls, roof, blocking, doorway, and feeder framing without requiring another rail.
Other decisions that worked well were:
- making the kennel deeper than it is wide
- using heavier framing for rigidity
- lowering the rear wall instead of raising the front
- building the roof separately
- adding a 50 mm side overhang
- using supported plywood joins
- reusing the building wrap and COLORSTEEL already on site
What I would tell someone building their own
Start with the dog, not a generic plan.
Think about:
- the dog's adult size
- how it naturally sleeps
- which direction it will face
- how you will clean the kennel
- how rain moves around the site
- whether food and water need external access
- how the roofing profile affects the minimum pitch
- how timber and sheet sizes can be cut efficiently
- which materials you already have and can reuse
A complete cutting list is one of the simplest ways to reduce waste, control cost, and avoid repeat trips to the store.
The finished result
The kennel is larger and more substantial than many shop-bought alternatives, but it was designed specifically for Luna.
It has:
- a raised treated base
- enough depth for a full-grown golden retriever
- a properly pitched roof
- a 50 mm side overhang
- treated plywood throughout
- an enclosed automatic feeder
- a reused COLORSTEEL roof
- planned macrocarpa weatherboard cladding
Most importantly, it gives Luna a dry, secure space built around how she will actually use it.
And as projects go, building something for a puppy who will grow into it is a pretty satisfying reason to spend a few days measuring, cutting, and making sawdust.
Related reading
Our outdoor living space shows another part of the property built around how we actually use it.
From small city apartments to rural life is the wider story behind the move to Whangārei Heads and projects like this one.
Mark Smith is Principal AI Strategist at Cloverbase. To discuss this article or work with me, contact me at Cloverbase.
More in Outdoor Living
Keep reading
Outdoor Living
GateShare: the honesty box has gone digital
A Kiwi app puts New Zealand's roadside stalls on one map. I've set up our gate stall, and the community side matters as much as the money.
5 October 2026
Outdoor Living
Creating an outdoor living space for now and the future
The first summer we lived at our property we had a newborn baby so didn’t spend a lot of time dining outside. With no mature trees we didn’t have much shade, though in the cool of the evening we’d sometimes cook on a little Webber coal BBQ in the shade thrown by our North-East...
13 January 2024